Figma to After Effects: keep layers editable or rasterize them?
Figma to After Effects
5 min read
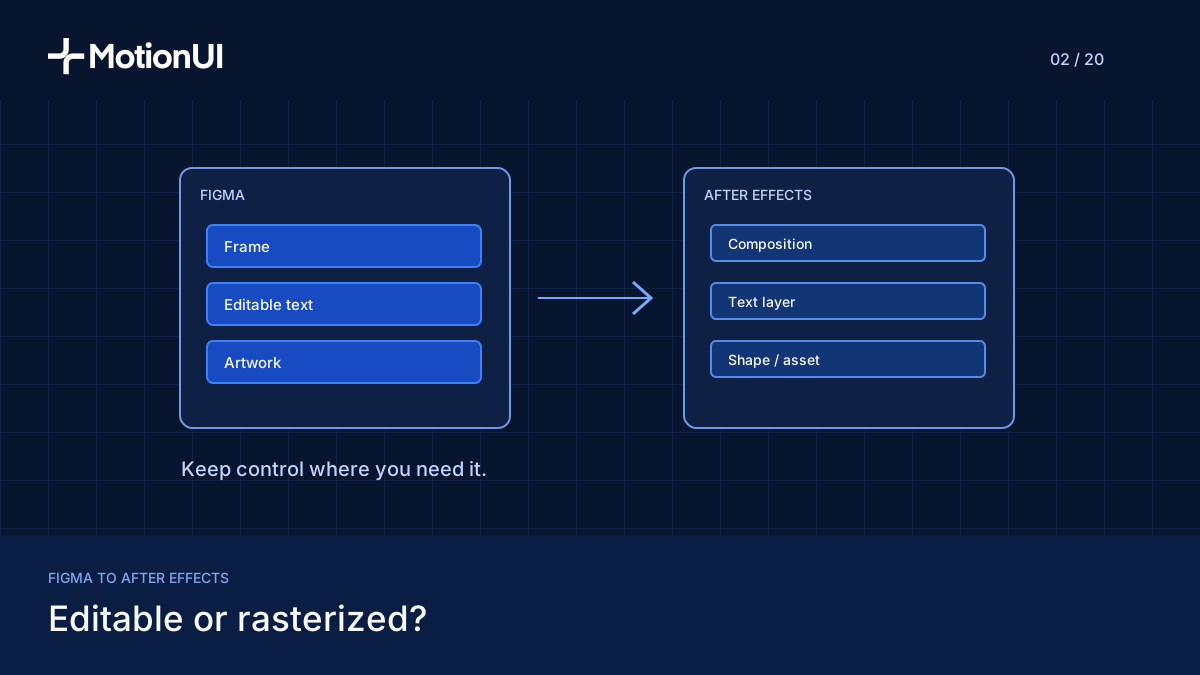
What you’ll learn
Rasterizing a whole frame turns its text and artwork into one image.
Editable text and rasterized artwork can coexist in the same After Effects composition.
PNG resolution must hold up at the largest planned zoom, not just the starting view.
Import your Figma card with editable text and image-based artwork ready for animation.
You will: Build a mixed import that preserves the control your animation needs.
Prerequisites: macOS or Windows, MotionUI, Figma file, After Effects, required fonts
How do you choose what stays editable?
Step 1: Assign an animation job to each card element
Keep elements editable when you need to change their content or internal shapes in After Effects. Choose images when the artwork can move as a single layer.
Use this concrete example: a product card with a headline, supporting text, a rounded background with a soft shadow, and a complex illustration. Plan to reveal the headline separately and move the illustration as one piece.
Headline and supporting text: Keep these editable so you can revise the wording and animate them independently.
Card background: Start with an editable import if you need to change its shape. Inspect the soft shadow before committing.
Complex illustration: Rasterize it if its internal details don't need separate animation.
Shadow fallback: If the imported appearance differs, consider rasterizing the background with its shadow while keeping the text separate.
Expected result: A selection plan based on what must change during animation, rather than flattening the whole card by default.
Step 2: Match each selection to an import action
Use Send selection for your normal import. It brings supported text, shapes, and vector paths into After Effects as editable layers. Artwork that needs an image representation can be imported as an asset.
MotionUI action | Documented result | Editing consequence |
|---|---|---|
Send selection | Supported text, shapes, and vector paths become editable layers. | Supported elements remain editable; artwork may use an image representation. |
Rasterize selection | Each selected element becomes a flat PNG. | Animate the image layer, without separate internal text or shapes. |
Rasterization means turning the selected artwork into pixels. Selecting an entire frame produces one image, so the card's headline and illustration won't become separate editable layers inside that image.
Select only the artwork you want flattened. Rasterizing a whole card also flattens text you may need to edit later.
Expected result: Editable selections for content changes and PNG selections for artwork you want to keep together.
How do you import editable layers and images together?
Step 3: Open MotionUI and prepare the destination
Open MotionUI, the desktop app by HIVER connecting Figma, After Effects, Claude Code and Codex. Access plugin setup from the MotionUI app, then open the MotionUI plugin in your Figma file and the MotionUI panel in After Effects. Keep the MotionUI app running.
Open the destination composition to add your selection there. Without an open composition, MotionUI creates a composition from the frame. Use New comp in the Figma plugin when you want a separate composition.
Compare the Figma frame dimensions with your destination composition before importing. An existing composition with a different aspect ratio won't necessarily produce an edge-to-edge match.
Expected result: The import has a deliberate destination. An AI agent is not required for this direct workflow.
Step 4: Send the elements that need editing
Select the card text and background layers in Figma, leaving out the illustration you plan to flatten. Click Send selection in the Figma plugin, or trigger it from the Figma tab of the After Effects panel.
Check Recent imports in the MotionUI app while the selection is read and built. In After Effects, inspect the resulting layers and confirm that the text you need to revise is editable.
Expected result: Supported card elements are available for editing. Follow the Send selection instructions for destination behavior.
Step 5: Rasterize the illustration separately
Select the illustration in Figma, open the target composition, and click Rasterize selection. The action is available in the Figma plugin and the Figma tab of the After Effects panel.
If the soft shadow needs an image-based fallback, select the background with its shadow and rasterize that artwork separately. Replace its earlier imported counterpart so both versions aren't visible.
Expected result: The card combines editable text with image layers. You can animate the illustration as a unit without managing its internal artwork. See how rasterized selections work.
Step 6: Check the scene before adding animation
Compare the imported card with Figma at the final output size. Inspect text, shadow softness, illustration edges, and layout. Review PNG assets at the largest planned zoom because their resolution is fixed.
Expected result: The headline remains independently editable, the illustration moves as one image, and the background uses the representation you approved visually.
How do you troubleshoot an import before animation?
Text looks different: Check that the font is installed and available in After Effects. Gradient-filled text or certain text effects can become images; underline and strikethrough aren't carried over.
The shadow or illustration looks wrong: Rasterize that element and keep the rest editable. Figma and After Effects use different rendering systems.
A PNG looks soft during a zoom: Review it at the largest planned size and reduce the zoom if needed. Image compression doesn't add resolution.
The layout doesn't fit: Compare frame and composition dimensions. Use New comp for frame dimensions or Create frame from comp to start a Figma design at the required size.
For persistent differences, follow the import appearance checklist and provide support with source and result screenshots, the import action, and a small reproducible example.
Need to set up the app first? Follow the MotionUI setup guide for Mac and Windows.

Connect Figma, After Effects and Claude. Made by HIVER.