How to transition between two UI states in After Effects
UI animation
4 min read
What you’ll learn
Matchcut uses outgoing and incoming layer sets inside the same composition.
Layer naming supports accurate selections, not automatic matching between Figma states.
Preview before and after the cut to catch misplaced layers and unreadable handoffs.
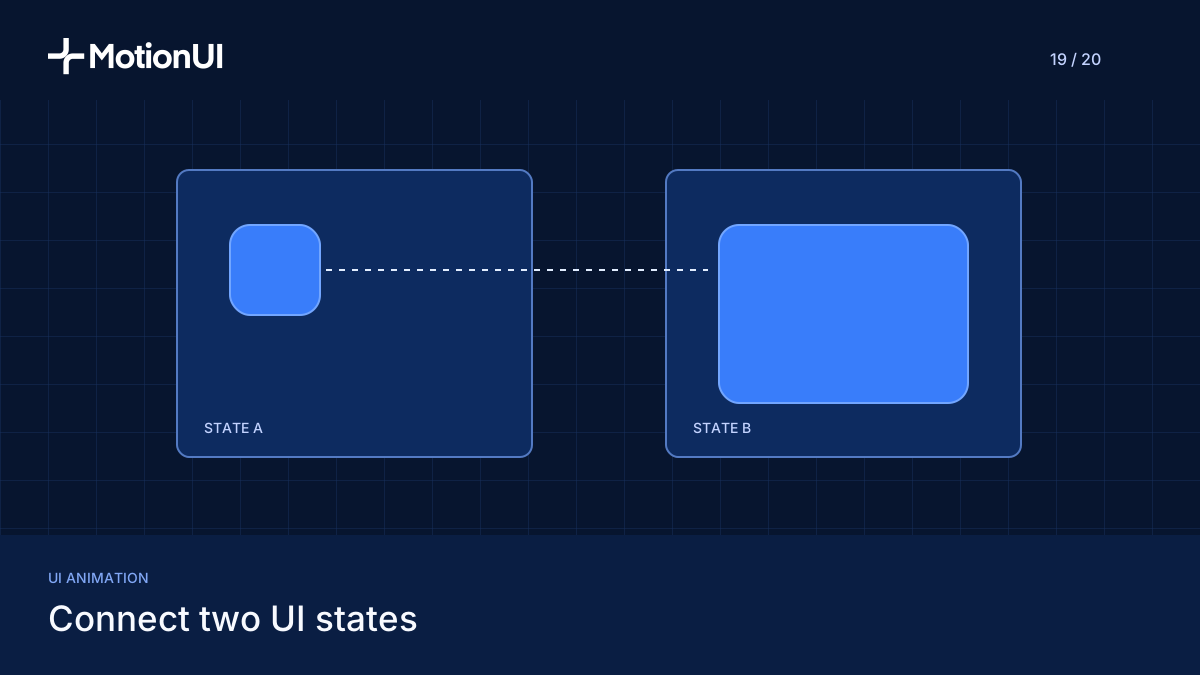
Connect two UI states with MotionUI Matchcut by assigning outgoing and incoming layers in one After Effects composition.
You will: Build and inspect a transition between two UI states.
Prerequisites: macOS or Windows, MotionUI, After Effects, two prepared UI layer sets
How do you prepare two UI states for Matchcut?
Step 1: Open MotionUI and prepare the composition
Start in the MotionUI app and access plugin setup from the app. MotionUI is a desktop app for macOS and Windows by HIVER connecting Figma, After Effects, Claude Code and Codex. For this workflow, use its After Effects tools.
If your screens originate in Figma, use MotionUI’s direct Figma to After Effects import. Prepare both UI states as separate sets of layers inside the same composition. Open that composition before assigning scenes.
Expected result: The outgoing state and incoming state are available in one timeline, ready for selection.
Step 2: Name layers by state and role
Give each layer a name that identifies its state and purpose. For a concrete example, build a transition from a project list to a selected project’s detail screen. Use a consistent naming convention so similar elements remain distinguishable.
List / Background
List / Header
List / Project card
Detail / Background
Detail / Header
Detail / Project title
Detail / Content
These are suggested layer names, not required MotionUI syntax. Check each state independently in the Composition panel. Confirm that backgrounds, text and supporting graphics belong to the intended screen.
Expected result: You can select a complete state without guessing which header or background belongs to it.
Step 3: Decide what should visually match
Choose the visual relationship that connects the states before choosing a transition. In the project example, retain the selected project’s name and accent color on the detail screen. Place its title deliberately so the viewer can follow the change from card to detail.
Decide whether the header should appear stable or move with its screen. If it should appear stable, align its appearance and position across the prepared states, then inspect that treatment during playback.
Tip: Layer names help you organize selections. Treat visual matching as a design decision, not an instruction for automatic Figma state matching or arbitrary path morphing.
Expected result: You know which visual cue should carry attention into the incoming state.
How do you build the Matchcut transition?
Step 4: Assign and check both scenes
Select the outgoing layers. Under Scene 1, click Set from Selection. Replace that selection with the incoming layers, then click Set from Selection under Scene 2.
For the project example, assign the List layers to Scene 1 and the Detail layers to Scene 2. Check the timeline selection before each assignment, including backgrounds that may be easy to overlook.
Assignment | Layers to select | Action |
|---|---|---|
Scene 1 | Outgoing layers | Set from Selection |
Scene 2 | Incoming layers | Set from Selection |
Expected result: Each scene contains its intended layer set. The Matchcut help page documents this assignment sequence.
Step 5: Choose movement and position the cut
Choose a slide, zoom or path transition. Hover its preset to see the preview. For the list-to-detail example, start with a restrained slide and use a direction consistent with other forward transitions in the product flow.
Move the playhead to the point where the cut should happen. Give the outgoing state enough viewing time for the selected project to register before the transition starts directing attention elsewhere.
Expected result: The selected preset supports the screen relationship, and the playhead marks the intended cut.
Step 6: Refine movement and apply Matchcut
Adjust duration, distance and easing under Refine, then click Apply Matchcut. Choose restrained movement first so the project title remains easy to track.
Expected result: Matchcut swaps the outgoing scene for the incoming scene inside the composition. Evaluate the actual UI layers during playback rather than relying only on the preset preview.
How do you inspect the handoff?
Step 7: Preview before, through and after the cut
Preview the whole transition, including a little time before and after the cut. Watch whether the project name remains recognizable, the incoming content becomes readable, and every intended layer travels with its scene.
If the example includes a click, use Cursor under More to add an editable shape layer, then animate its position toward the project card. Keep that cue intentional when checking scene selections. See the cursor, timing and composition tools instructions.
Expected result: The viewer can follow the selected project from list to detail without losing the screen’s hierarchy.
Troubleshooting: how do you fix common handoff problems?
A layer moves with the wrong screen: Check both scene selections and assign the intended outgoing and incoming sets again.
The transition feels too large: Reduce distance under Refine and preview with surrounding screen time.
The incoming state feels rushed: Inspect duration and easing, then check how long the detail screen remains visible.
The title appears to jump: Compare its position and appearance across the prepared states before adjusting the transition.
Save before reset actions and select only intended layers. Delete Keys removes keyframes; Preset + Timing removes a MotionUI preset and its timing.
Need to set up the app first? Follow the MotionUI setup guide for Mac and Windows.

Connect Figma, After Effects and Claude. Made by HIVER.